This website deals with travels and trips to many places. Most readers would want a map to assist in understanding what a particular article is describing. Here are some ways to display maps in your blog posts.
This article was first published in 2015, and has been updated a couple of times.
Travellerspoint Maps
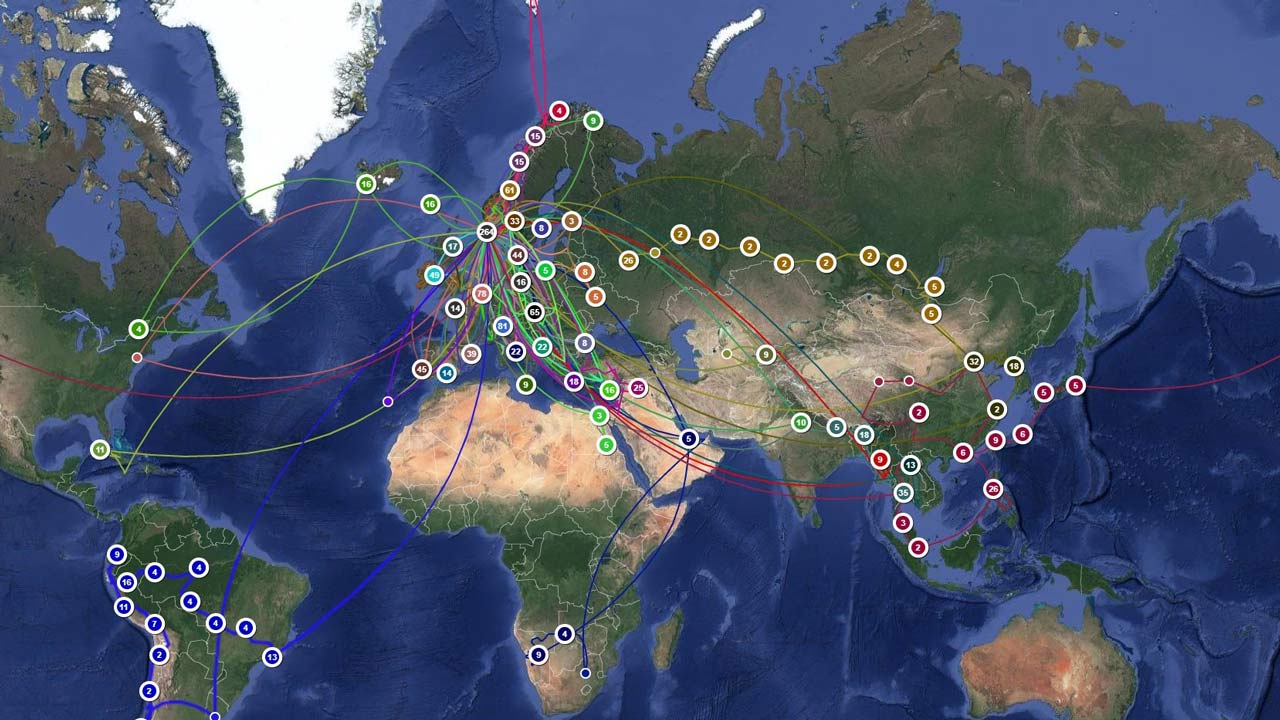
Sandalsand started as a travel blog on Travellerspoint but moved here to its own domain after a couple of years. (read more). Travellerspoint offers a brilliant map service with the ability to map all your trips, even for planning purposes. After I left their blog, I kept the map and I keep updating it. It is accessible through this link. The articles from my travels are no longer showing Travellerspoint maps, they take too long to load.
The featured image above is from Travellerspoint. It shows my destinations and routes around the world, projected on a Google map.
Map my Posts
The Map my Posts is a WordPress plugin. First, countries are categories. Second, each country/category has a geographical value. In turn, the plugin counts the number of posts ticked to each country and presents them in a world map.
The map is inserted with this simple shortcode: [ mmp-geochart mode=”region” ]
The plugin is pretty rudimentary. It displays a world map that is not dynamic. Instead, countries show in shades of blue. The shade depends on the number of posts attributed to each country.
Countries with no posts attached are grey. It is not possible to zoom in on this map, making several of the (small) European countries kind of invisible. You may hover on a country to show the name and number of posts attributed to it. A click opens up a list of all posts from this particular country.
(Late 2017 I deleted this plugin for reasons of security, because it hadn’t been updated for two years.)
Google Maps, simple
In Google Maps you can make your own map and embed it on your website, or copy the link to share it on your website or in an e-mail.
First of all, you may place marks on all places you want to show. The number of place marks is almost unlimited. The following map uses the code supplied by Google. (I changed the width from the original 640 to 100% to display it properly on all devices (pads, smartphones etc.)
Often, on a travel blog, you may want to show the connection between these markers, i.e. your route from A to B.
Drawing lines
If you want to draw lines from one place to another, you only have the option to name 10 places in each layer (numbered A to J). You may have 5 layers in each map. So in case you have an extensive trip, or want to show a large amount of place names along a route, Google stops you.
In the map above the sequence gets confused, and the layers produced like this does not allow individual styles.
If you have a Google account, you may save your maps. They are actually saved on your Google Drive. You may make the map public and share a link, and even copy some code and embed the map in your post.
The map below combines a route with placemarks. The placemarks can be clicked to open a small window for additional information. Obviously this is more neat, especially when dealing with a rather limited number of places.
Google Maps, by import from Google Earth
The next two options are fine if you want to expand your map and make more placemarks on a route.
The way to do is is to import a KML-file from Google Earth or any other application able to produce such files.
I have occasionally been using an app called Endomondo to trace my hikes. Endomondo’s export format (GPX) is not accepted by Google Maps. Instead I need to import it into Google Earth and then save it as a KML-file for a subsequent import into Google Maps.
This is the result, with some final adjustments made in Google Maps.
Google Maps, import from Excel or another spreadsheet
Google Maps accepts import of KML, CSV and XSLX-formated tables. I maintain an Excel spreadsheet with all hard facts about my published posts. All posts are sorted in rows with column headings stating title, description, category and the geographical coordinates.
I then import this spreadsheet nicely into Google Maps. Have a look at the “World Map” page for this very large map.
I have also used this method to create more detailed maps from hikes etc. Placemarks have been styled by category. Upon clicking them, more detailed and structured information is revealed. You will need to include the coordinates in your uploaded file in order to have them displayed on the map.
More, and even more
Yes, there are more methods of working with different kinds of maps, and I might return with more later. Google seems to be changing the rules every now and then. WordPress plugins come and go. And there are some really nice professional tools as well.
The good thing about the ways I described in this article is that they all come completely free of charge.


